Archlinux setup Minikube using KVM
Kubernete is a system that simplify the deployment of containerized application by providing support for deployment, orchestration, management and scalability of application. This is an open source project, which was borned out of google lab and was given to the open source community.
Kubernete has all the feature required for high availability production system, which is great, but what about developer… Welcome to minikube a tool that allow you to run a single node kubernete on your development workstation inside a VM. Minikube allow you to run like in production using any host OS that you use for your development, Windows, MacOs or Linux.
If you are using windows they are a nice article from Sacha that explain how to install and setup minikube on Windows. My development setup today is 100% on linux using arch linux as the base OS. I will explain in this article the step required to setup my minikube on ArchLinux. As I faced some issue on a way, this could help.
MiniKube Installation
Why KVM ?
Why am I using KVM ? This is not the default driver for minikube. They are a lot of option of driver to use depending on the OS you are using. KVM is part of the Kernel on most Linux distribution todat and would be the best solution as it doesn’t required any third party software but only some library potentually. For that reason I went with KVM. The second point is that when I tried to use minikube on Archlinux with the virtualbox driver I ran into a lot of issue and never been able to get around them. Maybe it was me, but I never find the answer online to get minikube running with virtualbox. This is why I looked at another solution and KVM was the option which turn out to be the good one for me.
- Linux Drivers
- VirtualEnv : This is the default one
- VMWare Fusion : Available with Minikube by default
- KVM : Driver that use Linux Kernel base virtual machine. This driver is deprecated to the newer one KVM2
- KVM2 : Newer version of for KVM driver
- None : With Linux you have the option to run minikube without any driver. However this required to run minikube on admin mode.
- MacOs Drivers
- Windows Drivers
- VirtualEnv : This the default one.
- VMWare Fusion : Available with Minikube by default
- HyperV : This is only available for the windows 10 Enterprise, Profesional or Education. If you are running Windows 10 Home this feature won’t be available.
Requirement
MiniKube with KVM require some library to be installed on your machine, mainly to inferface with the virtualization layer.
- Docker Machine : Helper command line that allow you to install docker on the computer or use an abstraction layer like KVM to host images
- Docker Machine KVM2 : Plug-in to docker machine that use KVM for the underline
- Libvirt : Virtualization API library
- qemu : Hypervisor
- minikube : Kubernete on your workstation
- KubeCtl : Command line that allow you to interact with kubernete
The installation process require some package that are only maintain on the AUR. You need to be sure that you have at yaourt package manager installed or another one. In this example I’m using yaourt
Installing Libvirt and qemu
Libvirt and qemu are the base for the virtualization. We need to install them as well as the network connectivuty requirement for NAT/DHCP. It is important to install all the network requirement otherwise you would not be able to start minikube. In this installation we are installing the version of qemu without any GUI. You can replace qemu-headless with qemu if you want a GUI.
sudo pacman -Sy libvirt qemu-headless ebtables dnsmasq
After the installation, we have to enable the daemon. The daemon libvirtd should enable virtlogd, however they are no arm activating both of them. If you want to start the daemon without restarting your machine you can run the commands with start
sudo systemctl enable libvirtd.service
sudo systemctl enable virtlogd.service
Installing Docker-machine
Docker machine is a machine management container. This need to be installed to be able to pulled out any container or image required.
sudo pacman -Sy docker-machine
Installing minikube and kubectl
Minikube and kubectl installation is as simple as using the package available on the AUR.
yaourt -Sy minikube-bin kubectl-bin
Installing KVM2 driver for minikube
Docker machine KVM2 is the driver required by minikube to run with the new version of KVM
yaourt -Sy docker-machine-driver-kvm2
Starting minikube
All the packages and requirement are installed now, we can start our minikube and test that everything is working as expected. During the initialialization we will look at how to I fixed some of the basic network issue.
Starting minikube
All the components installed now, we can run the following command to start our kubernete cluster which will download the VM image.
minikube start --vm-driver kvm2
However you could get this type of error message.
[mycomputer]$  minikube start --vm-driver kvm2
Starting local Kubernetes v1.9.0 cluster...
Starting VM...
E0306 08:05:44.945523   16047 start.go:159] Error starting host: Error starting stopped host: Error creating VM: virError(Code=55, Domain=19, Message='Requested operation is not valid: network 'default' is not active').

Retrying.
E0306 08:05:44.945839   16047 start.go:165] Error starting host:  Error starting stopped host: Error creating VM: virError(Code=55, Domain=19, Message='Requested operation is not valid: network 'default' is not active')
================================================================================
An error has occurred. Would you like to opt in to sending anonymized crash
information to minikube to help prevent future errors?
To opt out of these messages, run the command:
minikube config set WantReportErrorPrompt false
================================================================================
Please enter your response [Y/n]:
This mean that the virtual network defaul is not started or hasn’t been created properly. This article summarize well how to fix the problem, and you can find a great article about virsh from Jamie Nguyen that explain in more detail the internals.
Fixing “network ‘default’ is not active”
You can jump to the next section if your minikube instance started, and keep reading this section if you are unlucky :-(
First we have to check the status of the virtual network and be sure the ‘default’ virtual network is present.
[mycomputer]$ sudo virsh net-list --all
[sudo] password for myuser:
Name                 State      Autostart     Persistent
----------------------------------------------------------
default              inactive   no            yes
minikube-net         active     yes           yes
“Default” exist but no active. So we have to enable it and set it to autostart. This is the role of the two following commands.
sudo virsh net-start default
sudo virsh net-autostart default
The result of this command should be that
[mycomputer]$ sudo virsh net-list --all
[sudo] password for myuser:
Name                 State      Autostart     Persistent
----------------------------------------------------------
default              active     yes           yes
minikube-net         active     yes           yes
From that point we should be good to start our cluster using the previous step.
Minikube - kubernete dashboard
Kubernete has a web-ui dashboard that allow you to manage your cluster. This dashboard is installed by default on minikube which allow you to see the state of the cluster.
To open directly on your default brower
[mycomputer]$ minikube dashboard
Opening kubernetes dashboard in default browser...
To get the url of the dashboard
[mycomputer]$ minikube dashboard --url
http://192.168.39.2:30000
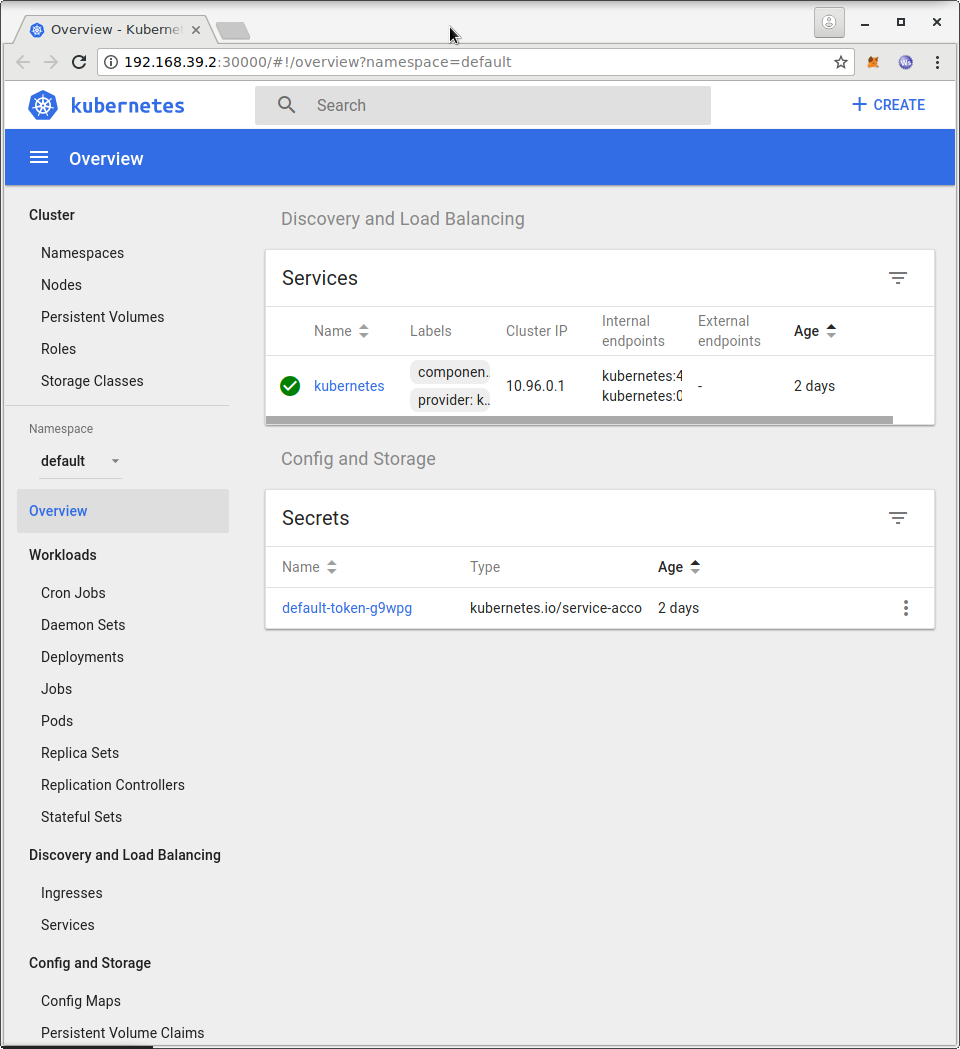
This a view of the dashboard main page.
what next ?
This is some link that I found useful for the next step about using kubernete. The “Hello Minikube” is a nice first step to go through
- Hello Minikube : https://kubernetes.io/docs/tutorials/stateless-application/hello-minikube/
- Minikube getting started : https://kubernetes.io/docs/getting-started-guides/minikube/