EeePC 1101HA Change HD to SSD
After a week without post because it took longer than I expect to reinstall ArchLinux to the state I wanted. I’m finally back online. In this post I show you how to change the SSD of an old EeePc 1101HA laptop to an SSD. I choose to do that now because of the hibernation hybrid mode I want to enable and as well because the price of a new SSD of 128GB is only 320 HKD (~40 USD). I choose for the SSD a Kingston SSDNow 300 of 128GB. This is one of the cheapest model you can find today on the market. The interface is SATA3, which is true is far more powerfull than the machine. it’s sure that won’t be the bottleneck here.
WARNING
The procedure below will break the warranty of your machine ( which should have expired already anyway )
Before Starting
Tool requirement
The tools you need for this procedure are quite standard:
- Small philips screw driver
- Flat screw driver
- credit card ( Yes I know can sound strange )
- New SSD
Todo
Be sure you are backed up your machine before starting this process.
Instructions
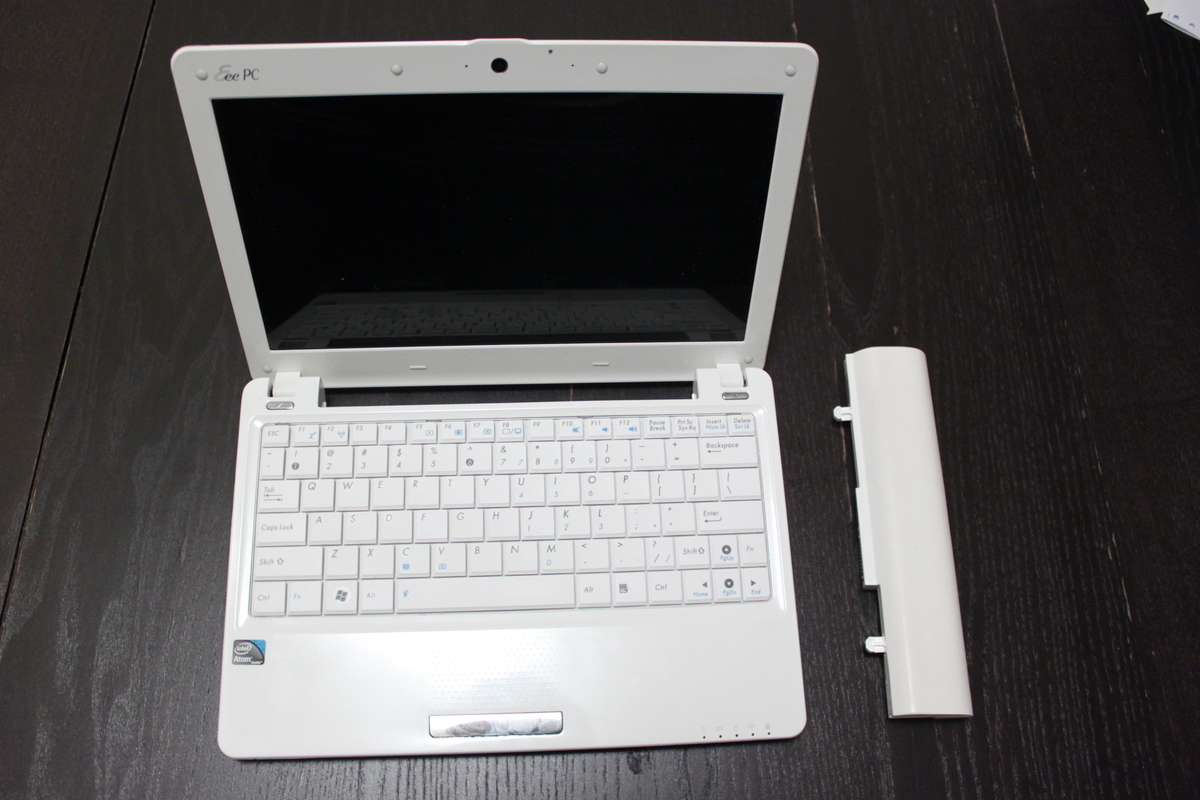
Removing the battery
Turn your laptop and remove the battery using the right and left buttom.

Empty the Laptop remaining energy
You need to press the start buttom for 5s to ensure that no more power is in the laptop
Removing the RAM and unscrew the back screw
Turn the laptop again and open the hash where the RAM is located and remove it.

Unscrew the 8 screws on the back.
Removing the keyboard
Return the laptop and open the cover. We will remove the keyboard to be able to access the remaining screw to access the heart of the laptop. Removing the keyboard is not hard. You will need a flat screw driver to be able remove the keyboard. The keyboard is attached to the case by for pin located above the letter ‘ESC’, ‘F5’, ‘F11’ and ‘Delete’ (for US keyboard). Place the screw driver in the small space and press again you. You can see from the below picture how to put the screw driver

When you pushed out the four link you will have the keyboard coming out. Don’t Pull It Out. The keyboard is still attached to the base and we need to remove that. Use a small screw driver and push on the motherboard on each side of where the cable is connected. When you did that remove it.

Removing the top cover
The next step to access the motherboard and the hard drive is to remove the top cover. We will need to remove 8 more screw and use a credit card to pass in the edge to remove the cover. Under where the keyboard was located, remove the 8 screws. One of the screw is hidden behind the small sticker saying that you will lost the warranty on the laptop (Which for a 7 years is not important)
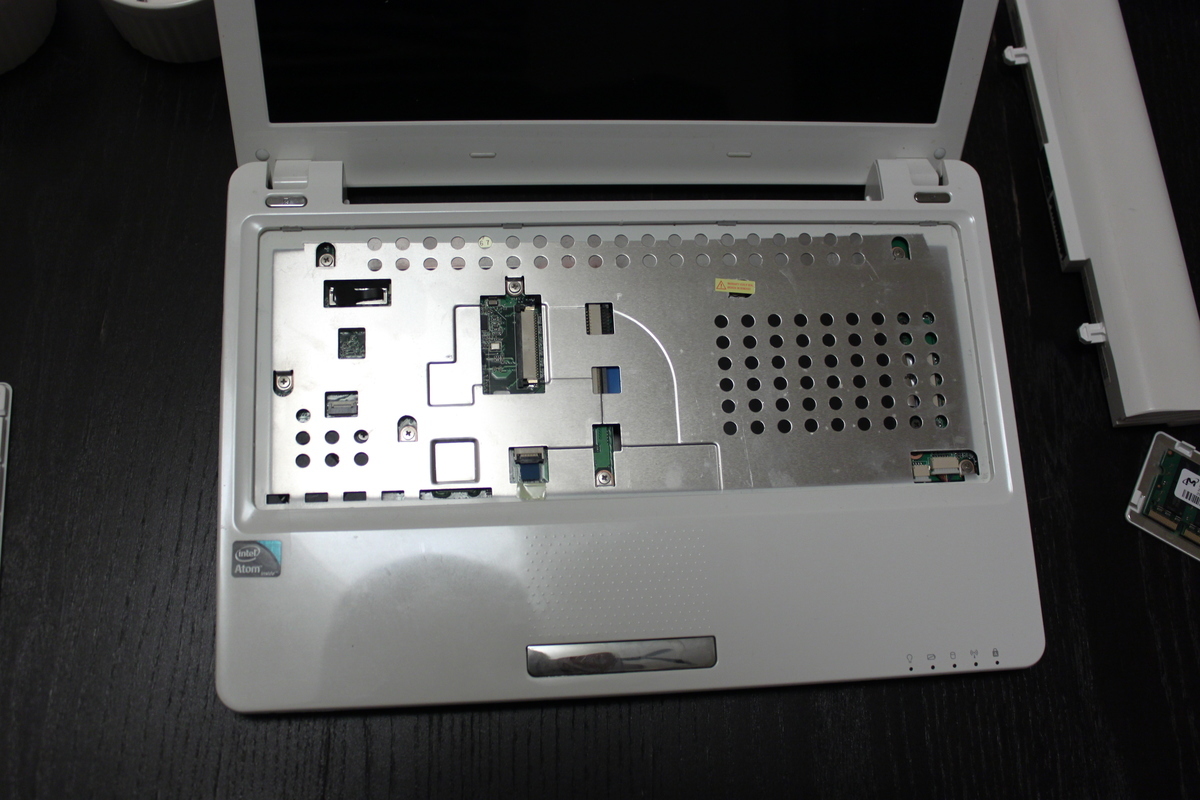
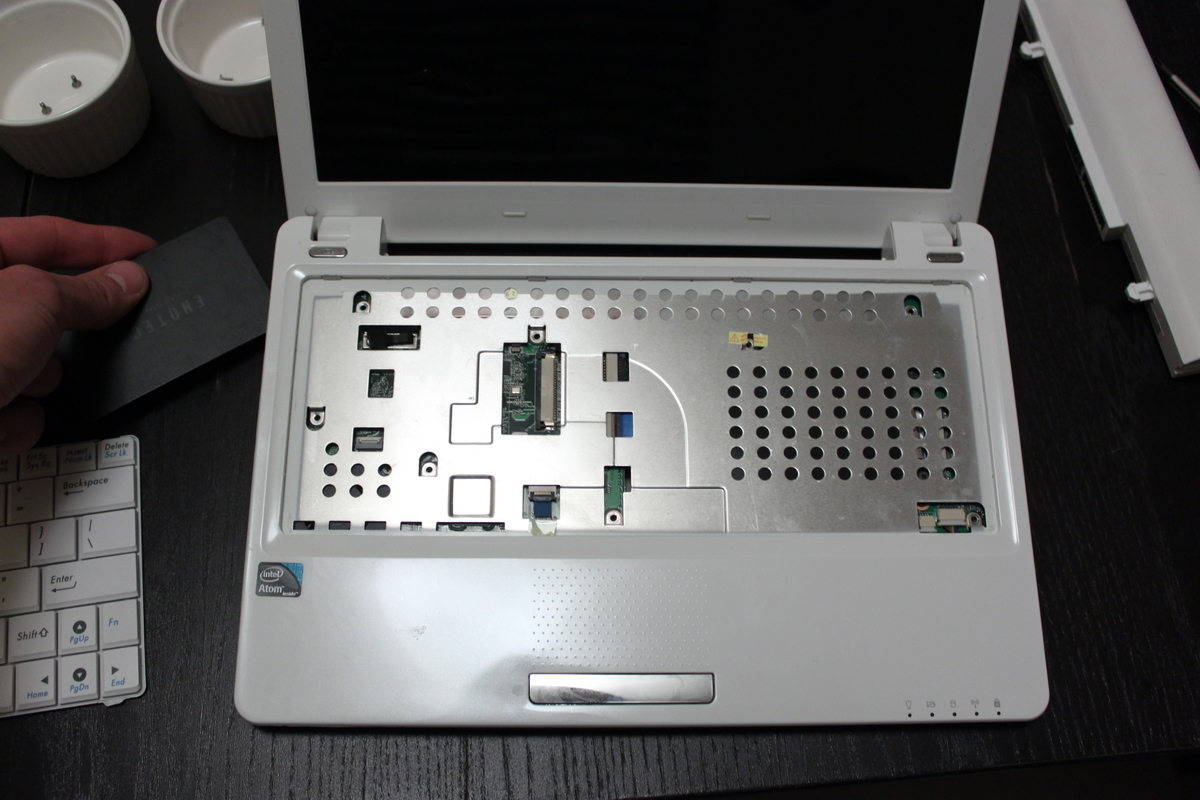
Before we start removing the cover we have to unplug the trackpack from the motherboard. On the bottom of where the keyboard was located they are a cable with which you can remove. Use a small screw driver to push up the motherboard link and remove the cable. We don’t have anything that link the cover to the motherboard anymore.
Use a credit card to pass in the edge of the laptop and remove the cover as per the picture below.
Removing the Hard drive
You can now see all the heart of the laptop. The hard drive is located under the connecting cable that run between the motherboard and the extension card. We need to remove that first before we can access physically to the hard drive.
The nap can be remove my pulling up in each extremity the plug. it will turn by 90 degres and you will be able to remove the link which will free up the hard drive.
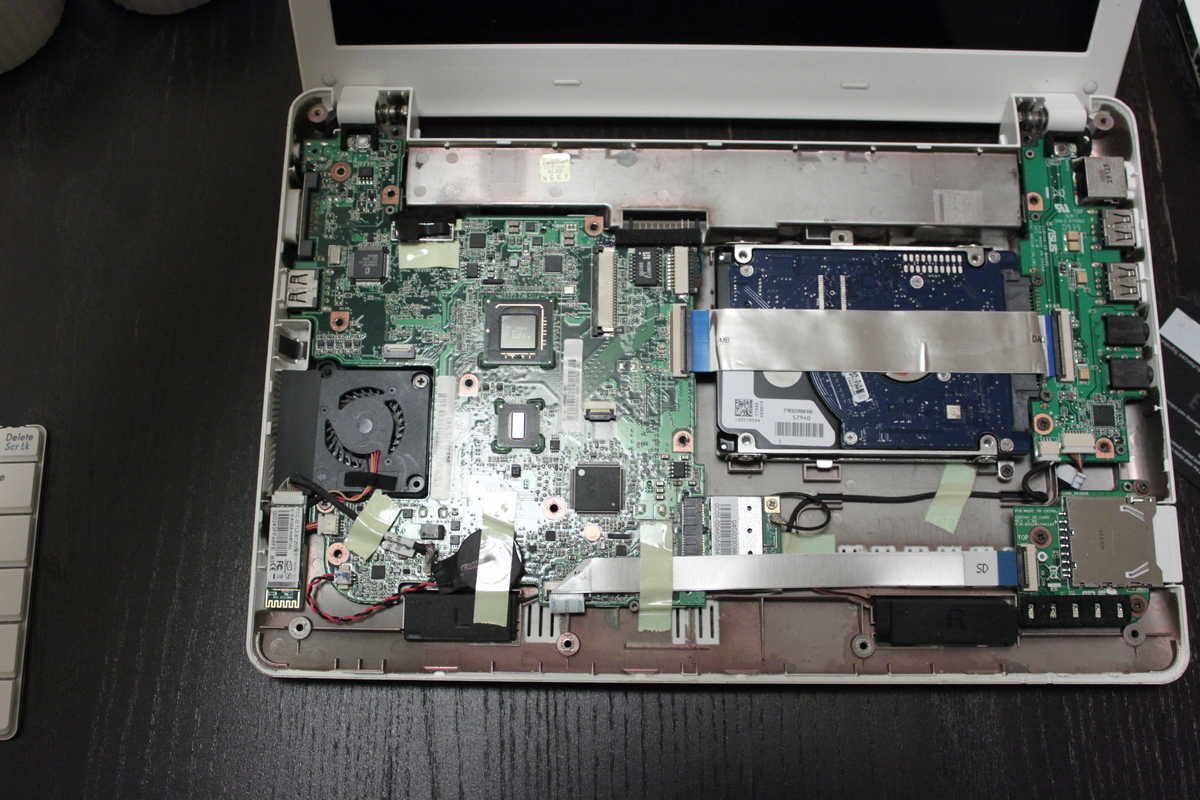
We just have to remove one screw to be able to remove the hard drive. A small strip on the left is here to allow to pull the hard drive from the connector.

Replacing the Hard drive with the SSD
This is the last step before we can reassamble the laptop. We need to remove 4 screws from case that hold the hard drive and replace it with the SSD. We need to be sure to put the new SSD in the right side.
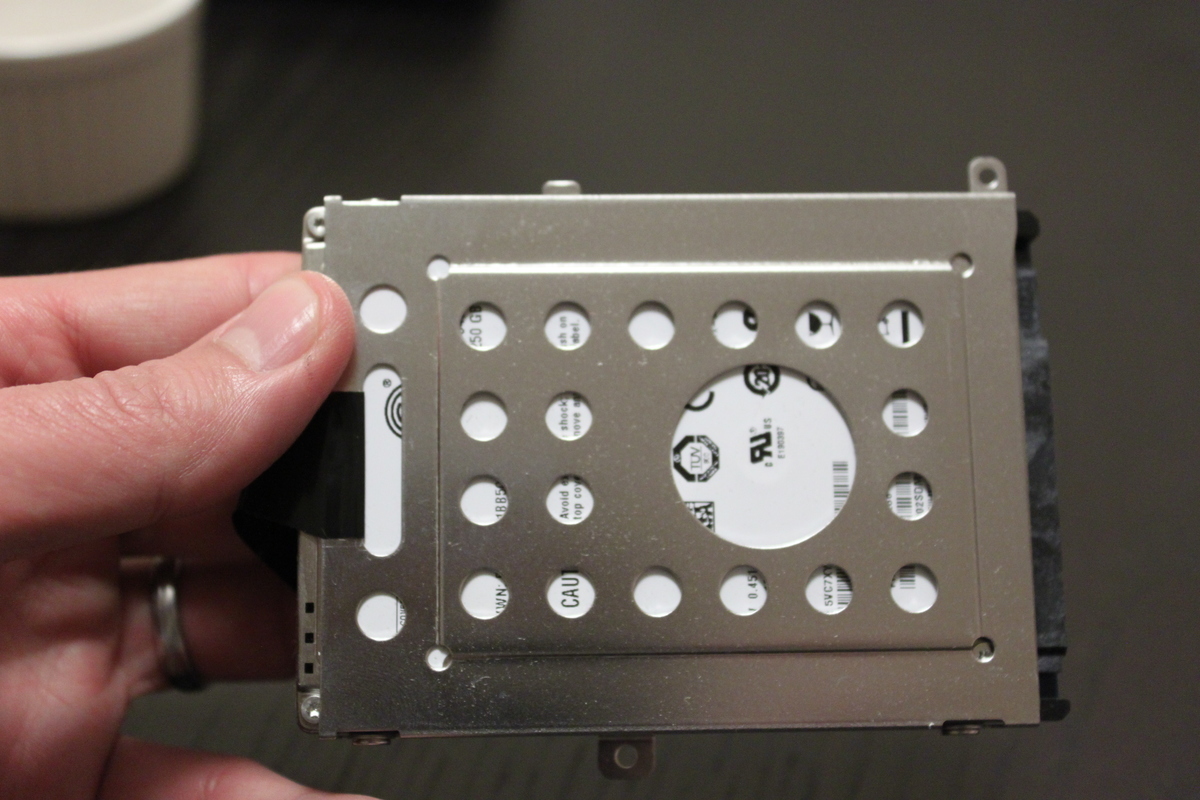 View of the Hard drive in the case
 View of the case and SSD side by side
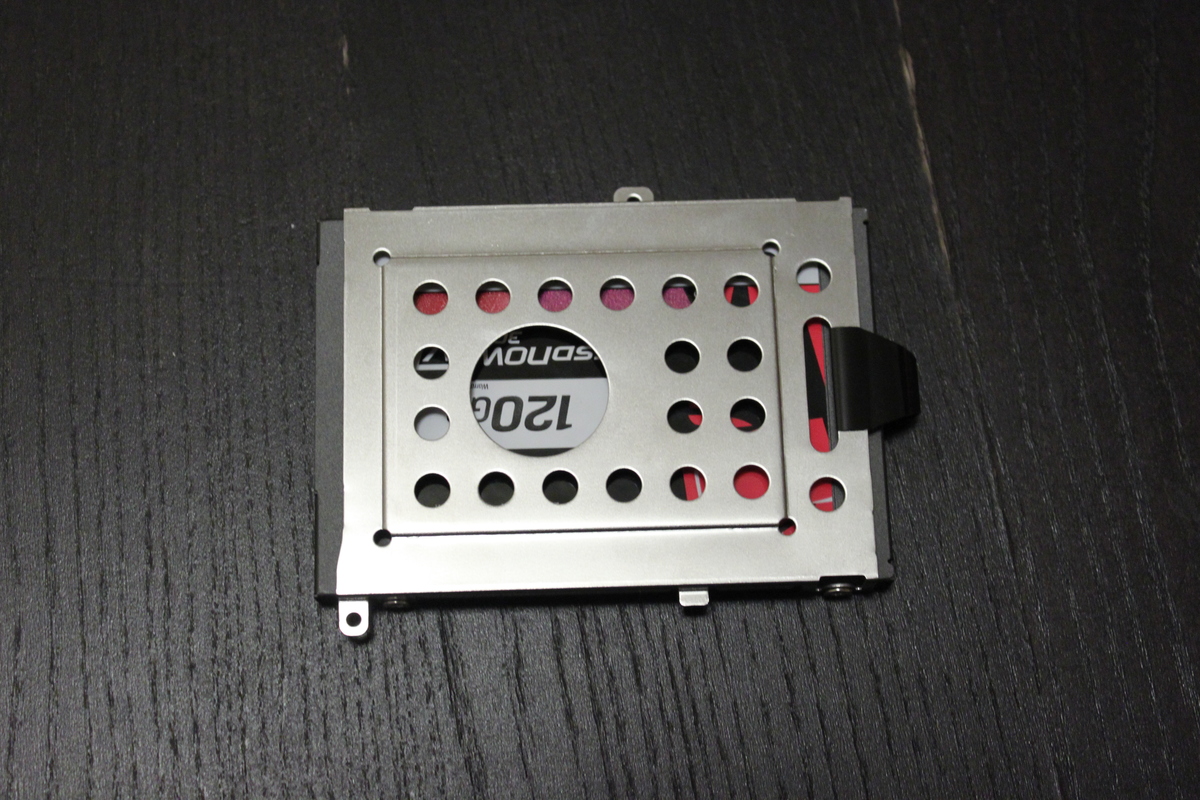 VIew of the SSD in the case
Summary
Changing the hard drive with this laptop was more challenging than I though but not that hard. I’m too use to having hard drive that are simple to access. The total time to do that is around 15 mins when you know what you are doing.
I hope that some poeple like me who still own some of this old machine will find this instruction usefull